Window Light for Realistic Portraits
Use the size, direction and distance of one window to create a repeatable portrait foundation.
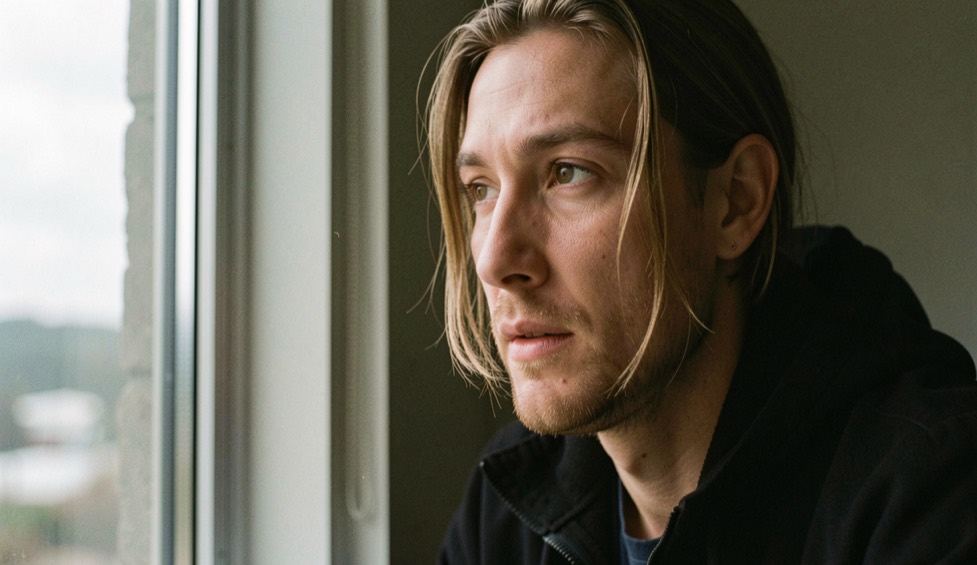
Start perpendicular
Place the subject roughly side-on to the window so the light describes the face instead of flattening it. Rotate the shoulders and chin by small amounts until the shadow side still carries detail.
Change distance before settings
Moving closer to a large window softens the transition across the face; moving farther away gives more even light. This physical change often does more than another exposure adjustment.
Watch the background
A bright window behind the subject can become the visual subject by accident. Turn the camera or add distance behind the person until the background supports the expression.
A window-light test
Tape a small mark for the chair, then make three frames with the subject close to the glass, at the original distance and farther into the room. Keep the camera height and exposure approach consistent. Compare the size of the highlight, the shadow transition and the background brightness. This simple test teaches more than describing window light as soft. A large source can still be directional, and distance changes the relationship between face, background and falloff.
The limit is the window itself. A bright exterior may become the dominant rectangle, mixed indoor bulbs may put different colours on the face, and a moving subject may need a faster shutter than the room suggests. Use curtains, a turn of the shoulders or a change of camera angle before reaching for a complex lighting kit. The best window portrait often looks simple because the photographer solved the room before asking the person to perform.
Window light works at every scale, and newborn announcement photographs shows how to time, light and prop a first portrait at home.
Keep a field record
A window session can be planned with one simple boundary: decide which direction the subject may move and which background must remain quiet. Mark that zone, then let the person move within it. This keeps the light repeatable without turning the portrait into a rigid pose. If the weather changes, record the cloud cover and colour shift in the notes. A later session may need a different starting exposure, but the relationship between source, face and background will still be understandable.
Know the limit
Window light has limits that are physical, not inspirational. A narrow window may create a beautiful edge but leave the shoulders darker than expected. A large opening can flatten a face when the subject turns directly toward it. Use the room’s geometry to decide where the portrait belongs, and do not promise a look the available source cannot produce. If extra consistency is essential, photograph a grey reference and keep a small reflector ready, but let the window remain the main reason the frame looks as it does.
Example from the field
Example: place a subject one step inside a doorway beside the window and make a frame with the shoulders turned slightly away from the glass. Then turn the face toward the light without moving the feet. The first frame may feel more private, the second more open. Neither is universally better. The experiment shows how a small body direction changes the portrait while the source, camera and room remain stable.